Use Enclosure Maps
3 minute read
TrueNAS Connect provides enclosure mapping functionality that lets you visualize your storage hardware in a way that reflects your physical system layout. This feature helps you understand the relationship between your drives, pools, and the actual hardware enclosures.
Accessing Enclosure Mapping
Navigate to the Enclosures screen from the main TrueNAS Connect interface to access enclosure mapping features.
Use the System dropdown menu to choose which TrueNAS system you want to view enclosure information for.
Viewing Existing Enclosures
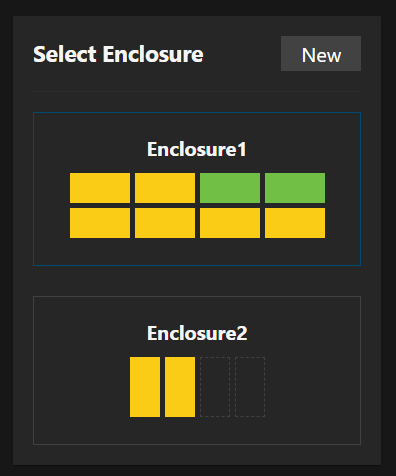
The Select Enclosure panel displays all configured enclosures for your selected system with visual previews showing slot layouts and disk status.
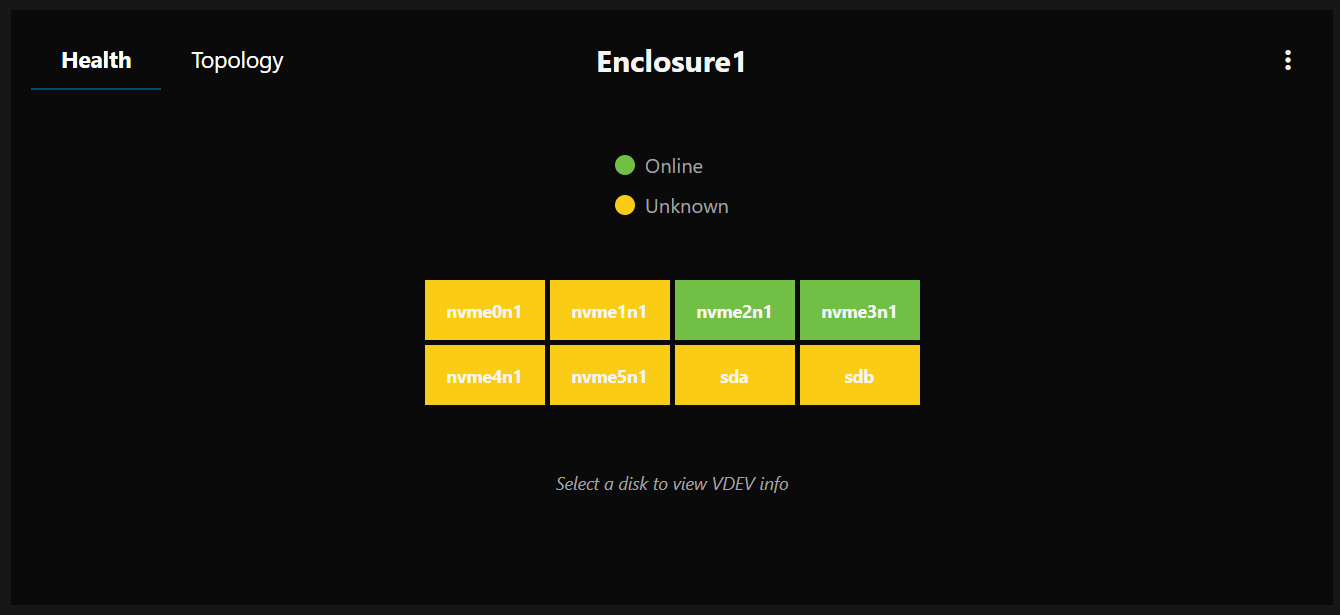
Click on any enclosure from the list to view its detailed information in the main panel. This shows a visual grid representation of all disk slots with color-coded indicators for drive health and pool membership.
Understanding Enclosure Views
- Health view displays disk health status with color-coded indicators showing online (green), unknown (yellow), and empty (dashed outline) states.
- Topology view shows storage pool relationships with colored dots matching drives to their assigned pools.
Use the health legend and topology legend to interpret the visual indicators and understand the current state of your system.
Mapping a New Enclosure
Click the New button in the Select Enclosure panel to begin mapping a new enclosure configuration.
Step 1: Configure Enclosure Details
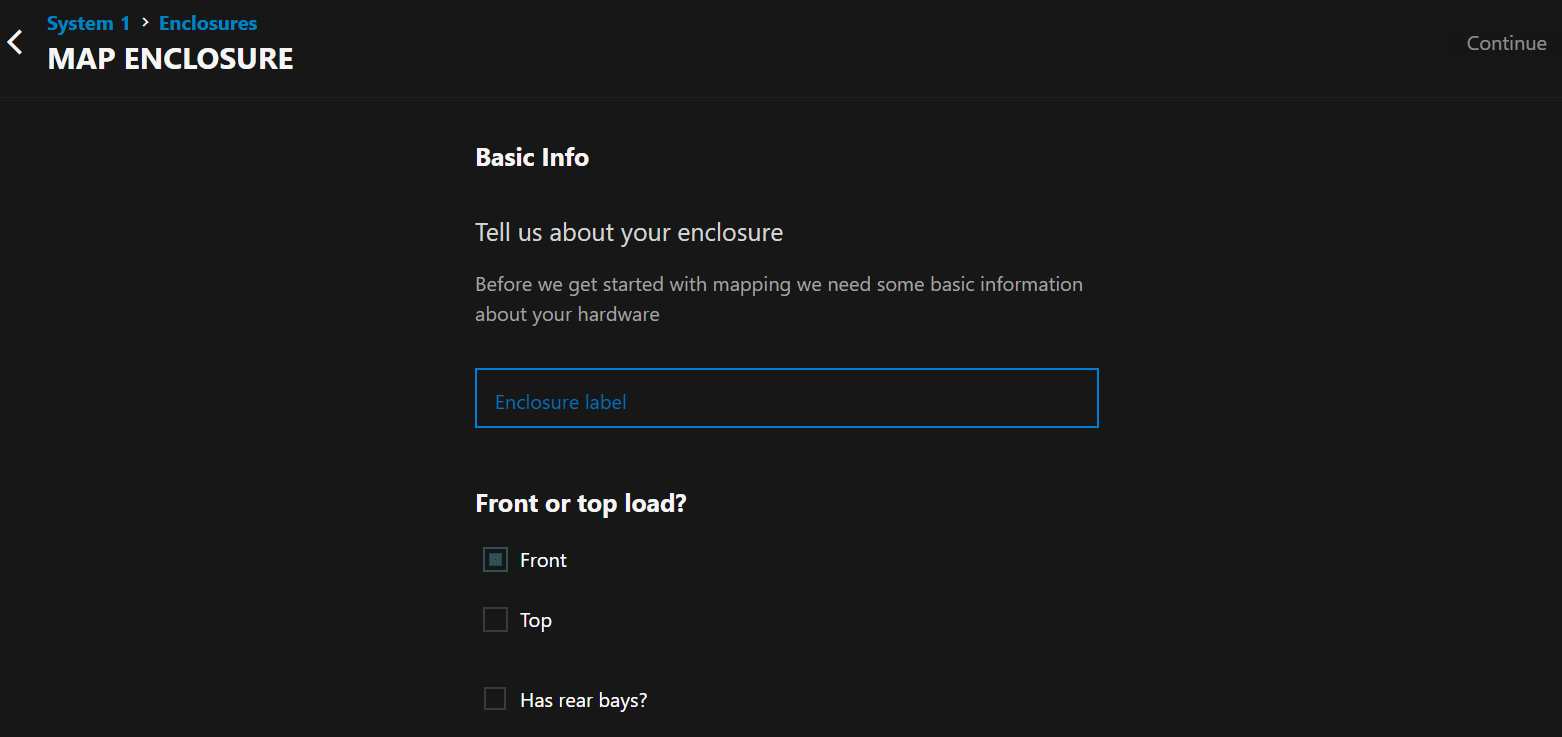
Enter a descriptive Enclosure Label to identify your hardware.
Select the physical orientation using Front or top load? options:
- Choose Front for enclosures where disks are accessible from the front panel (most common)
- Choose Top for enclosures where disks are accessible from the top
Enable Has rear bays? if your enclosure includes additional disk slots accessible from the rear.
Click Continue to proceed to layout configuration.
Step 2: Define Enclosure Layout
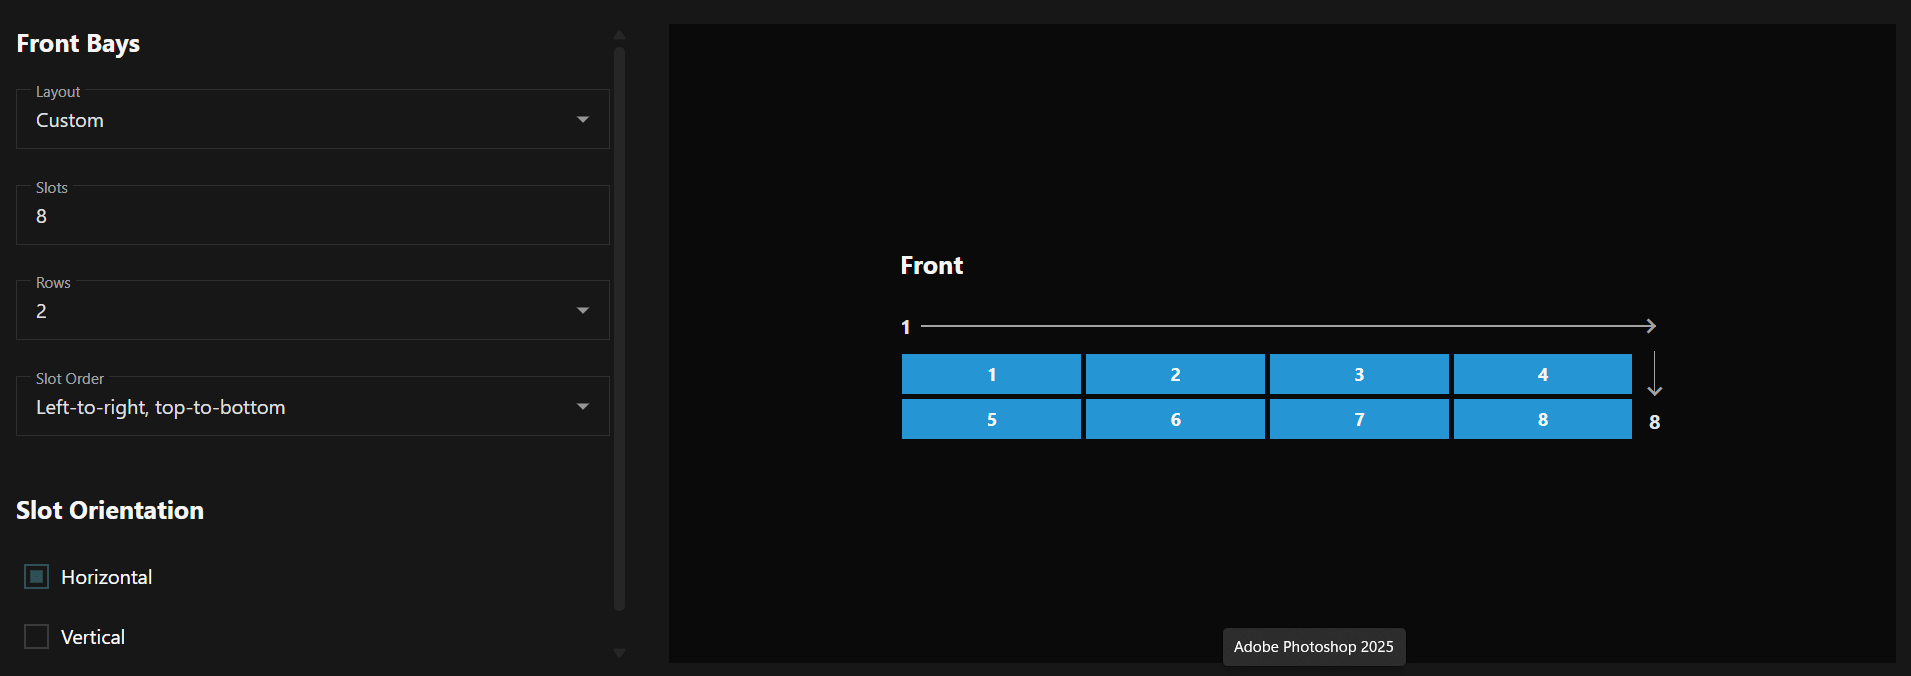
Choose a Layout preset from the dropdown for common enclosure configurations, or create a custom configuration.
Set the total number of Slots available in your enclosure.
Select the number of Rows for horizontal slot arrangement.
Choose the Slot Order pattern that matches the physical numbering sequence of your enclosure.
Define Slot Orientation as either Horizontal (most common) or Vertical based on how disks are physically inserted.
The enclosure preview updates in real-time as you modify configuration options, allowing you to verify the layout matches your physical hardware.
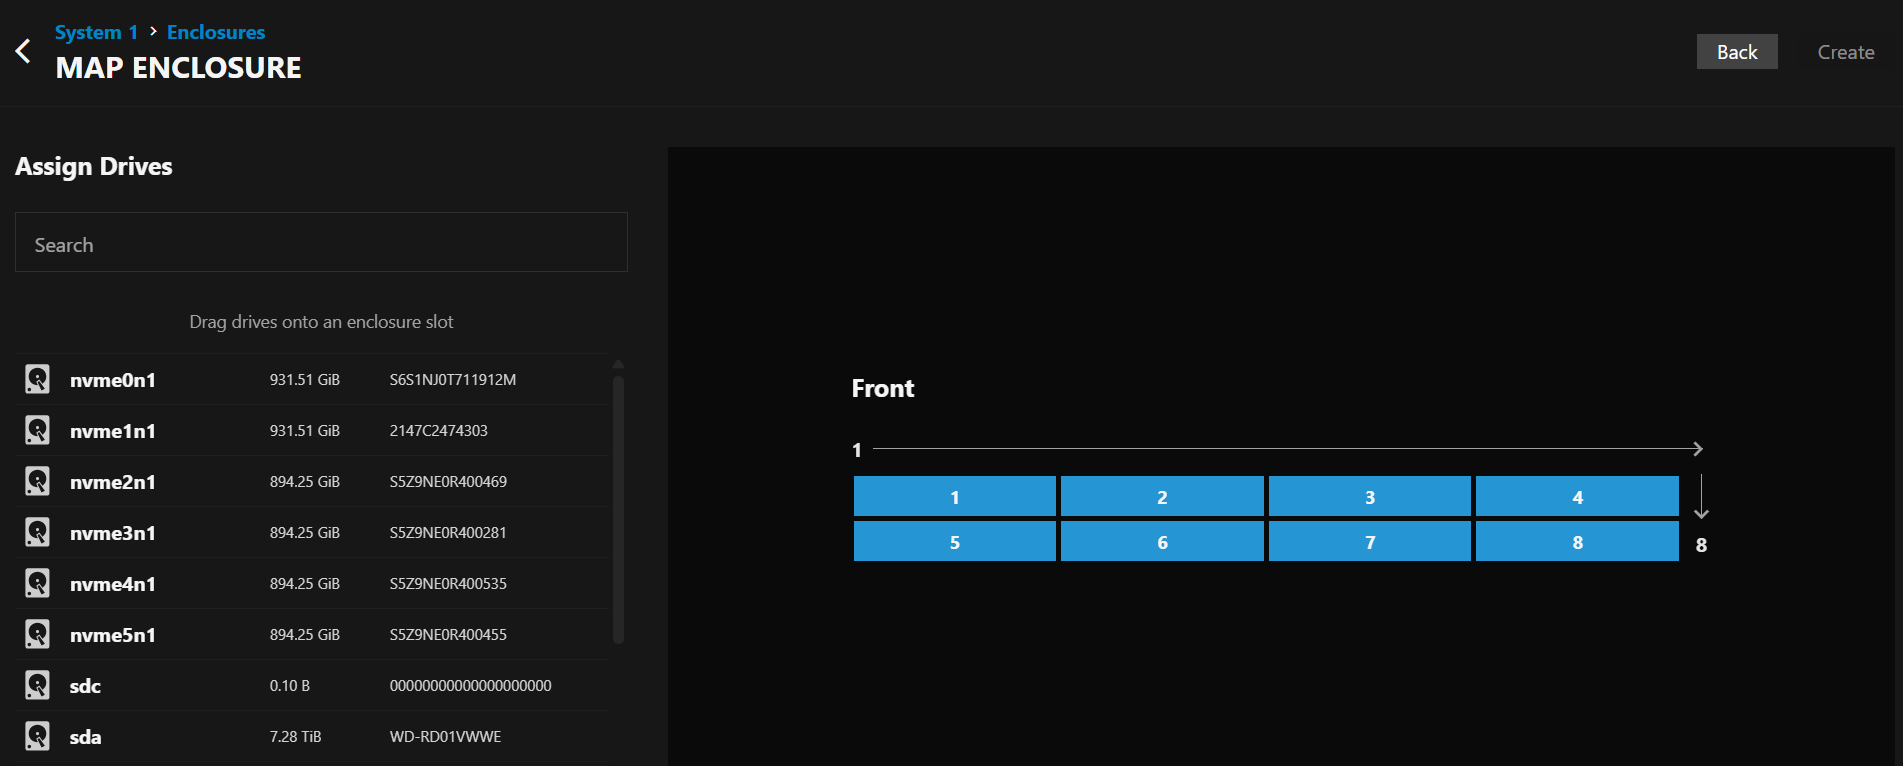
Step 3: Assign Drives
Use the Search field to filter available drives by name or serial number for easier selection.
Drag and drop drives from the Drive List into the appropriate slots in the enclosure preview.
The preview shows real-time updates as you assign drives to slots, helping you match your virtual configuration to your physical hardware layout.
Managing Enclosure Information
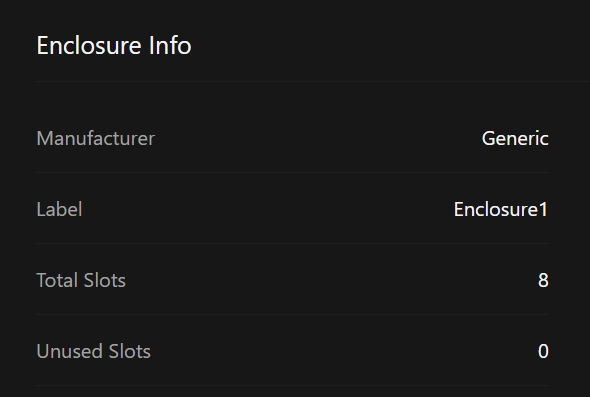
View detailed specifications in the Enclosure Info panel including manufacturer, label, total slots, and unused slots available for expansion.
Click on individual slots in the enclosure view to access detailed disk information and management options for populated slots.
Benefits of Enclosure Mapping
Enclosure mapping provides several advantages for managing your TrueNAS storage:
- Visual Hardware Representation: See your storage layout as it physically exists in your enclosures
- Simplified Troubleshooting: Quickly identify the physical location of drives experiencing issues
- Pool Visualization: Understand how your storage pools are distributed across physical hardware
- Expansion Planning: Identify available slots for future storage expansion
- Drive Management: Easily locate and manage specific drives within your physical enclosures


